

In this blog, I am going to show you how to simply setup Django application on Cloudpanel 2 with Gunicorn and nginx
This tutorial is aimed at the Django user who wants to set up a production web server. It takes you through the steps required to set up Django so that it works nicely with Gunicorn and nginx. It covers all three components, providing a complete stack of web application and server software.
CloudPanel is a free software to configure and manage a server with an obsessive focus on simplicity.
Run static websites, PHP, Node.js and, Python applications.
Django is a high-level Python Web framework that encourages rapid development and clean, pragmatic design.
nginx (pronounced engine-x) is a free, open-source, high-performance HTTP server and reverse proxy, as well as an IMAP/POP3 proxy server.
Gunicorn, short for Green Unicorn, is a popular WSGI (Web Server Gateway Interface) HTTP server for running Python web applications. It’s a lightweight and production-ready server that can serve web applications built on frameworks like Flask, Django, and others.
Using Gunicorn is a common practice when deploying Python web applications, and it’s often part of the deployment stack alongside other tools like Nginx or Apache.
- First go to your Cloudpanel Hosting, then go to Add site

2. Create a Python site
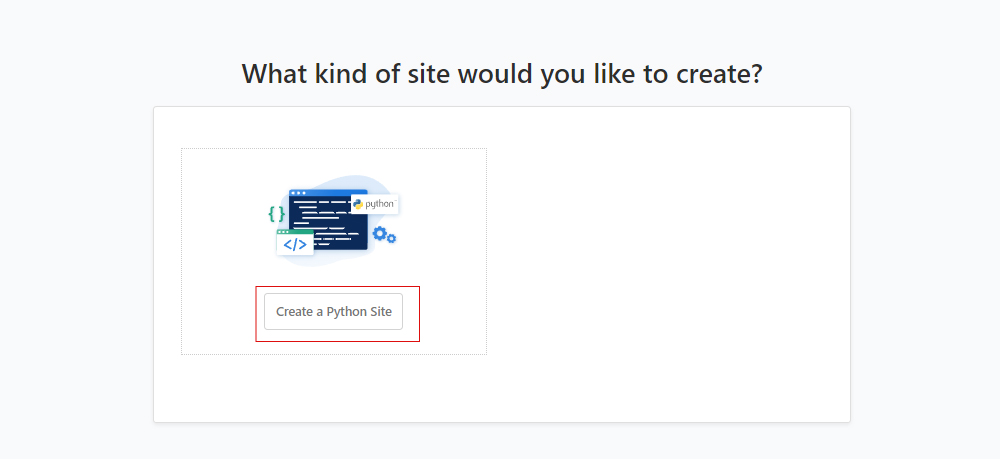
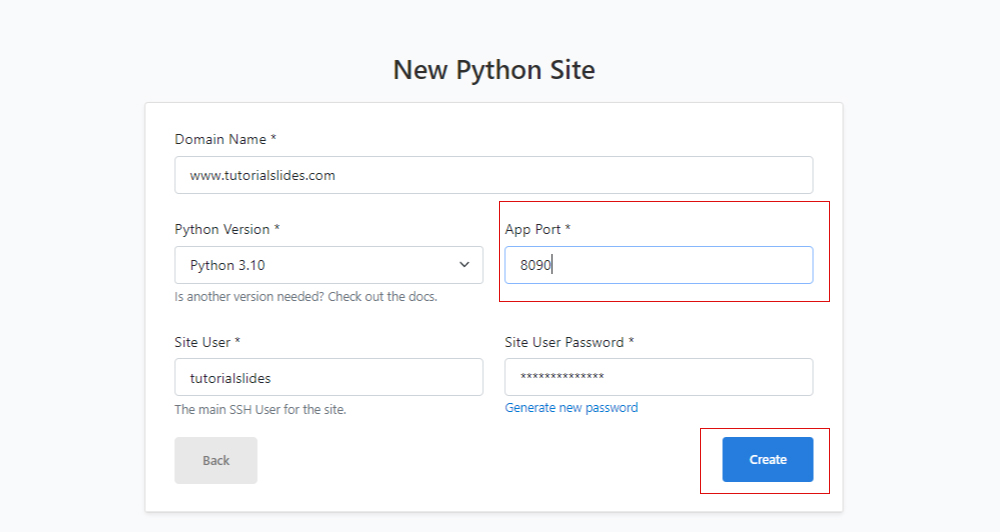
3. Add and note details given below:
1) Domain name – www.tutorialslides.com
2) App port – 8090
3) Site User – tutorialslides
Now click on Create
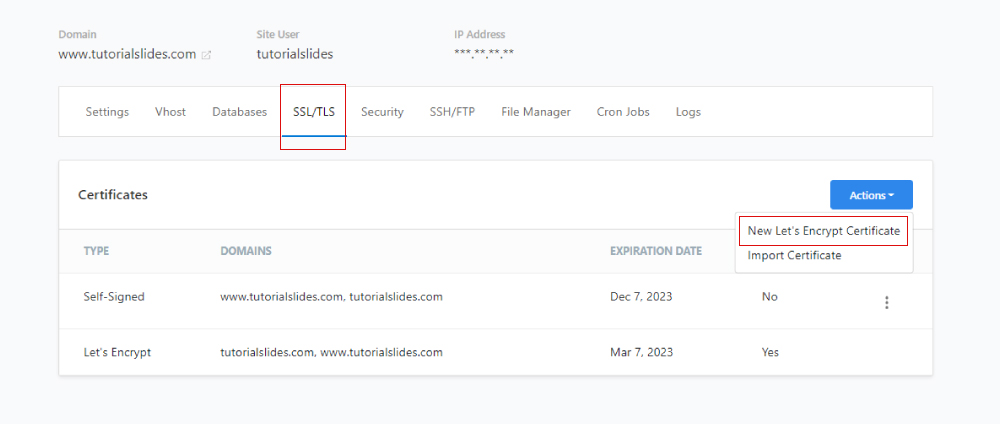
4. Now install SSL Let’s Encrypt Certificate
5. Log in via SSH with the Root User and go to the directory: Use Filezilla or Else use Cloudpanel Filemanager to upload all your Django files except env or Venv folder
Now go to domain settings and copy directory path
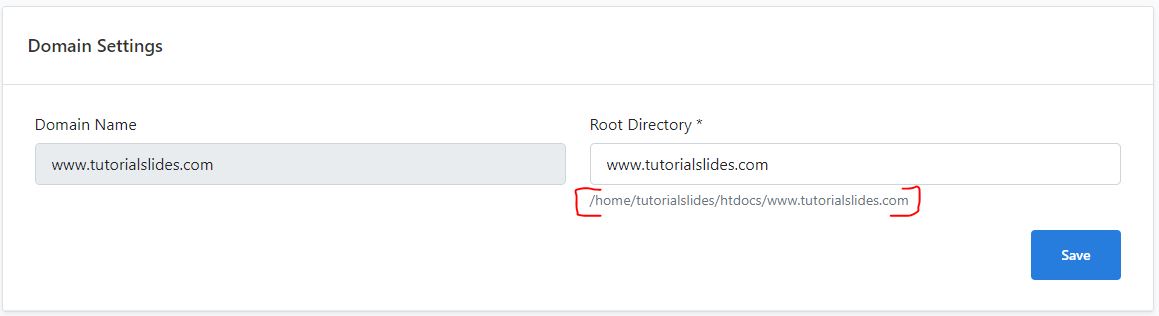
Now login to SSH and let’s install Django and create venv
The below code will create a virtual environment called ENV
Now activate ENV using below code
If you see your terminal like this. then your ENV is running properly
Now install requirements.txt file
Now install Django Gunicorn
Now migrate your Django database for the first time.
If you followed the initial server setup guide, you should have a UFW firewall protecting your server. In order to test the development server, we’ll have to allow access to the port we’ll be using.
Create an exception for port 8000 by typing:
Finally, you can test our your project by starting up the Django development server with this command:
In your web browser, visit your server’s domain name or IP address followed by :8000:
Now go to your project settings settings.py:
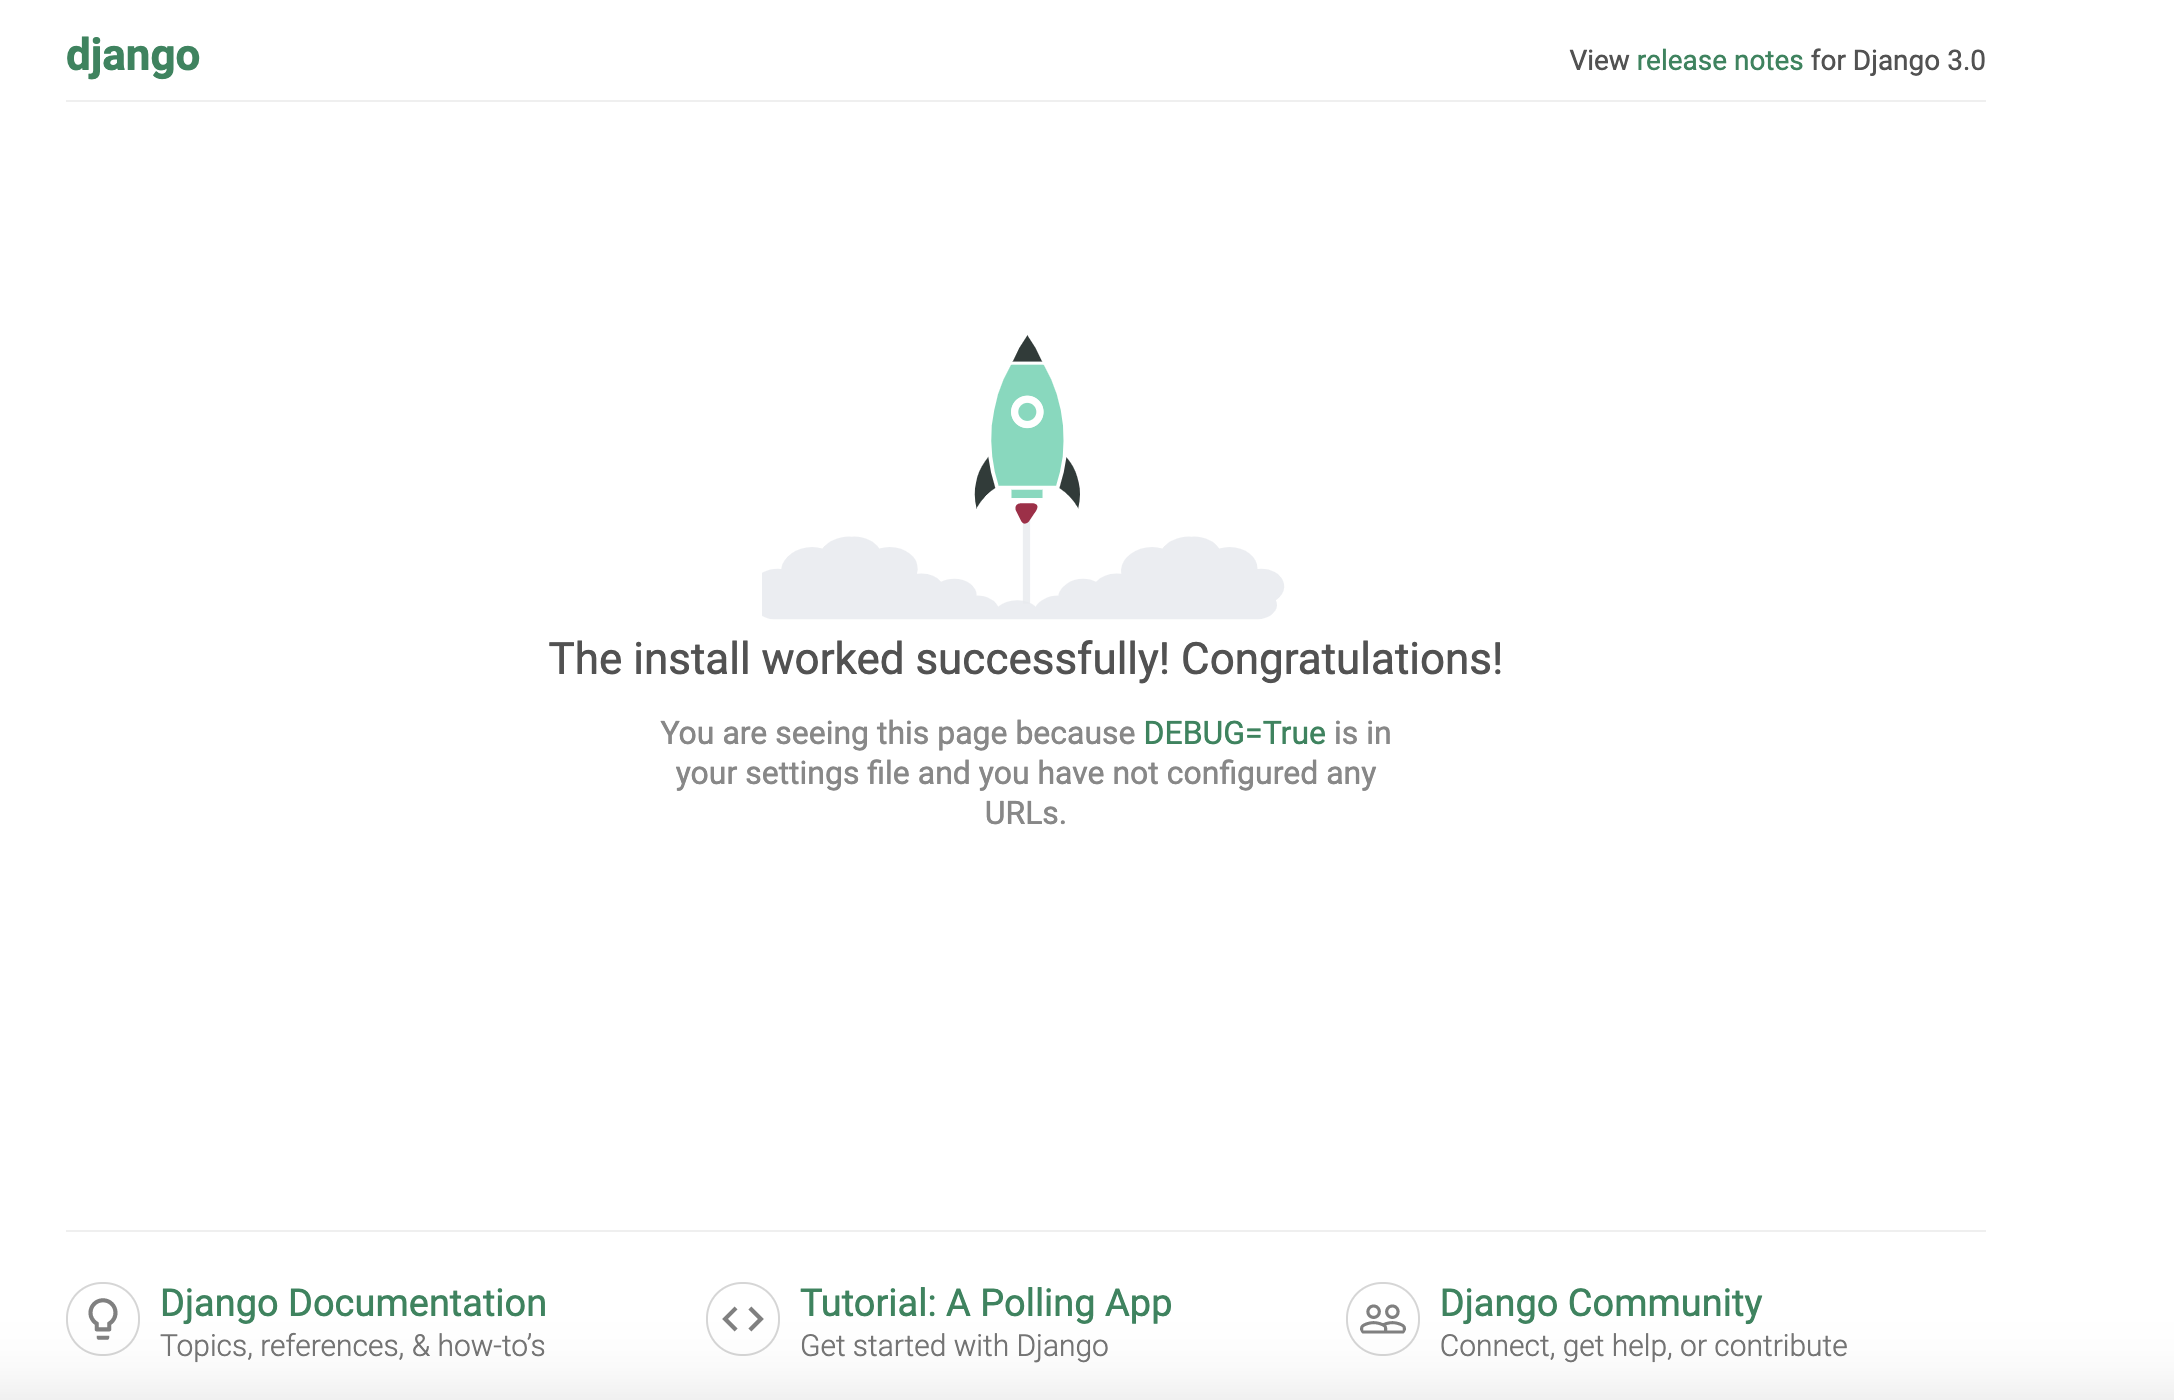
You should receive the default Django index page or your project page.
Creating systemd Socket and Service Files for Gunicorn
We have tested that Gunicorn can interact with our Django application, but we should implement a more robust way of starting and stopping the application server. To accomplish this, we’ll make systemd service and socket files.
The Gunicorn socket will be created at boot and will listen for connections. When a connection occurs, systemd will automatically start the Gunicorn process to handle the connection.
Start by creating and opening a systemd socket file for Gunicorn with sudo privileges:
Inside, we will create a [Unit] section to describe the socket, a [Socket] section to define the socket location, and an [Install] section to make sure the socket is created at the right time: and paste below code.
Save and close the file when you are finished.
Next, create and open a systemd service file for Gunicorn with sudo privileges in your text editor. The service filename should match the socket filename with the exception of the extension:
Save and close the file when you are finished.
Next, create and open a systemd service file for Gunicorn with sudo privileges in your text editor. The service filename should match the socket filename with the exception of the extension:
Note: Replace user= tutorialslides with your site user id and replace tutorialslides.com with your domain
With that, our systemd service file is complete. Save and close it now.
We can now start and enable the Gunicorn socket. This will create the socket file at /run/gunicorn.sock now and at boot. When a connection is made to that socket, systemd will automatically start the gunicorn.service to handle it:
Checking for the Gunicorn Socket File
Check the status of the process to find out whether it was able to start:
You should receive an output like this:
Go to your cloudpanel sites settings page > vhost
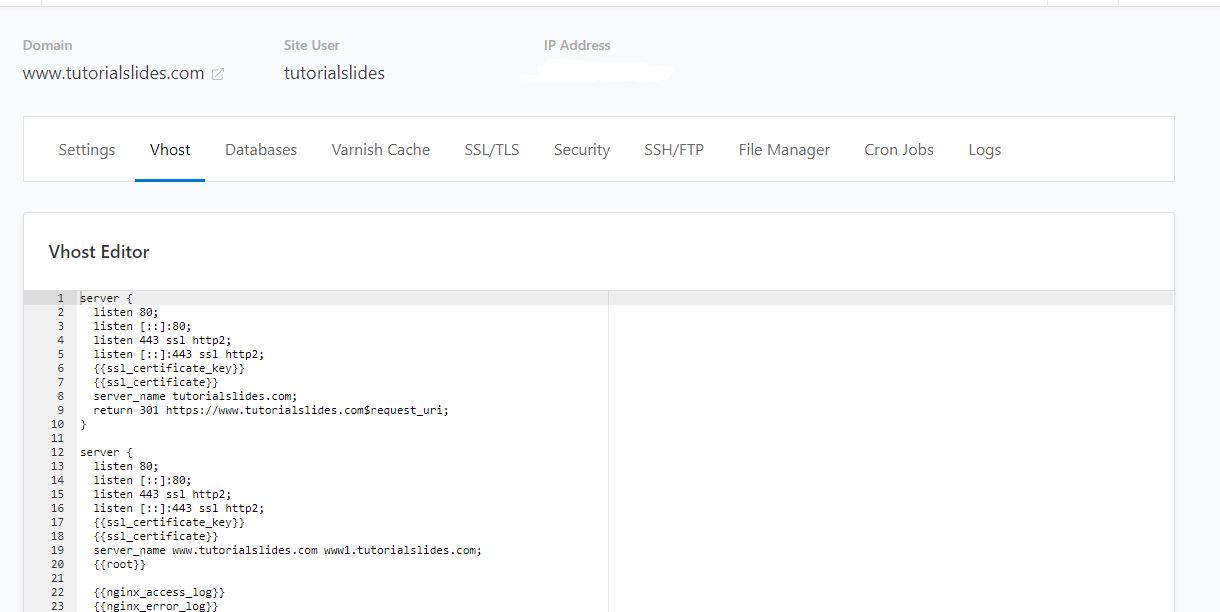
Replace with below code on vhost
If no errors are reported, go ahead and restart Nginx by typing:
Done. Now you can refresh your domain your site will be up and running.
Error handling
502 Bad Gateway caused by GUNICORN
504 Bad Gateway caused by NGINX
Add those to http
Change this in events
Still facing Issues ?
Contact me for paid support Mail me @ tutorialslides.com@gmail.com
Contact Me
Paid Support